ChaosOps
Your servers tell you what's wrong before you have to ask
ChaosOps is a self-hosted server monitoring and alerting platform. It watches your servers, analyzes root causes with AI, suggests fixes, and only acts after you approve. Your data stays with you. Perpetual license, no ops expertise required.
Features
See all servers at a glance
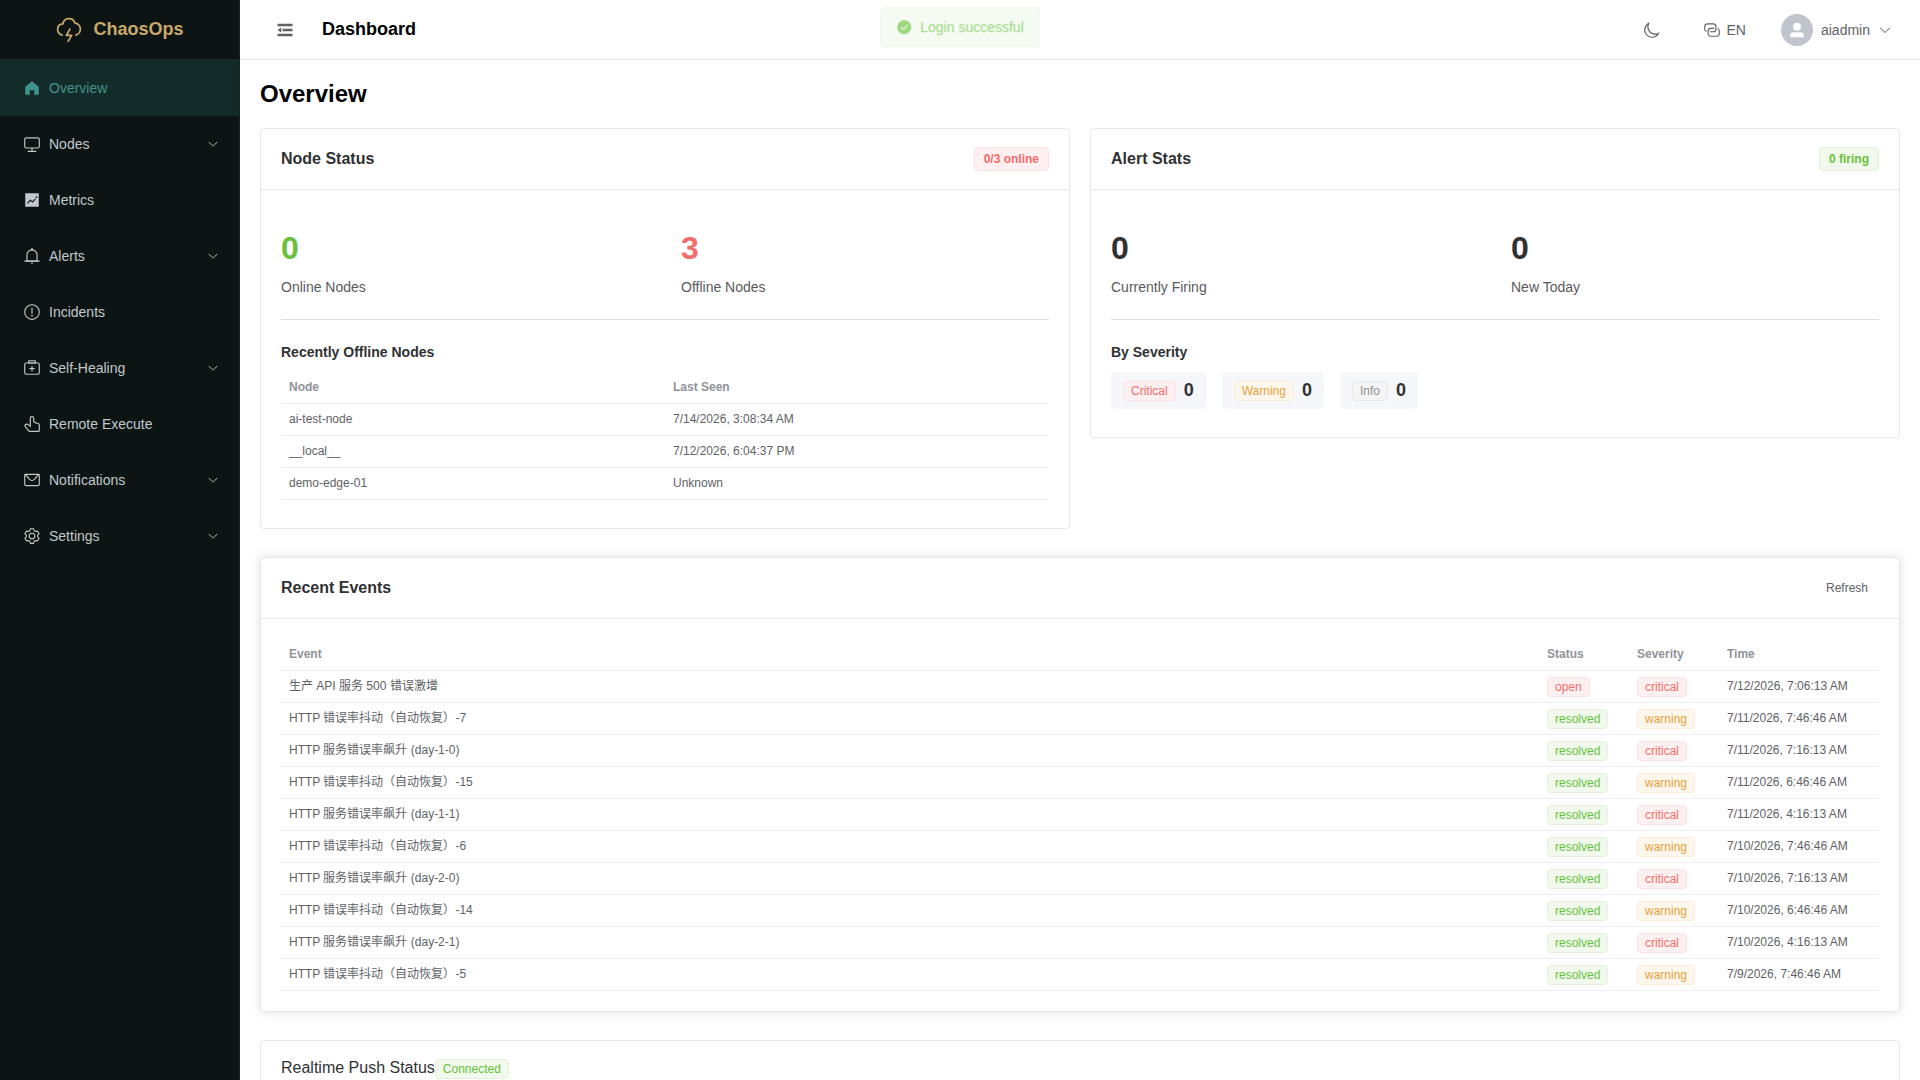
Check CPU, memory, disk and network health for every machine from one page, with historical trends available anytime.
Get notified when things break
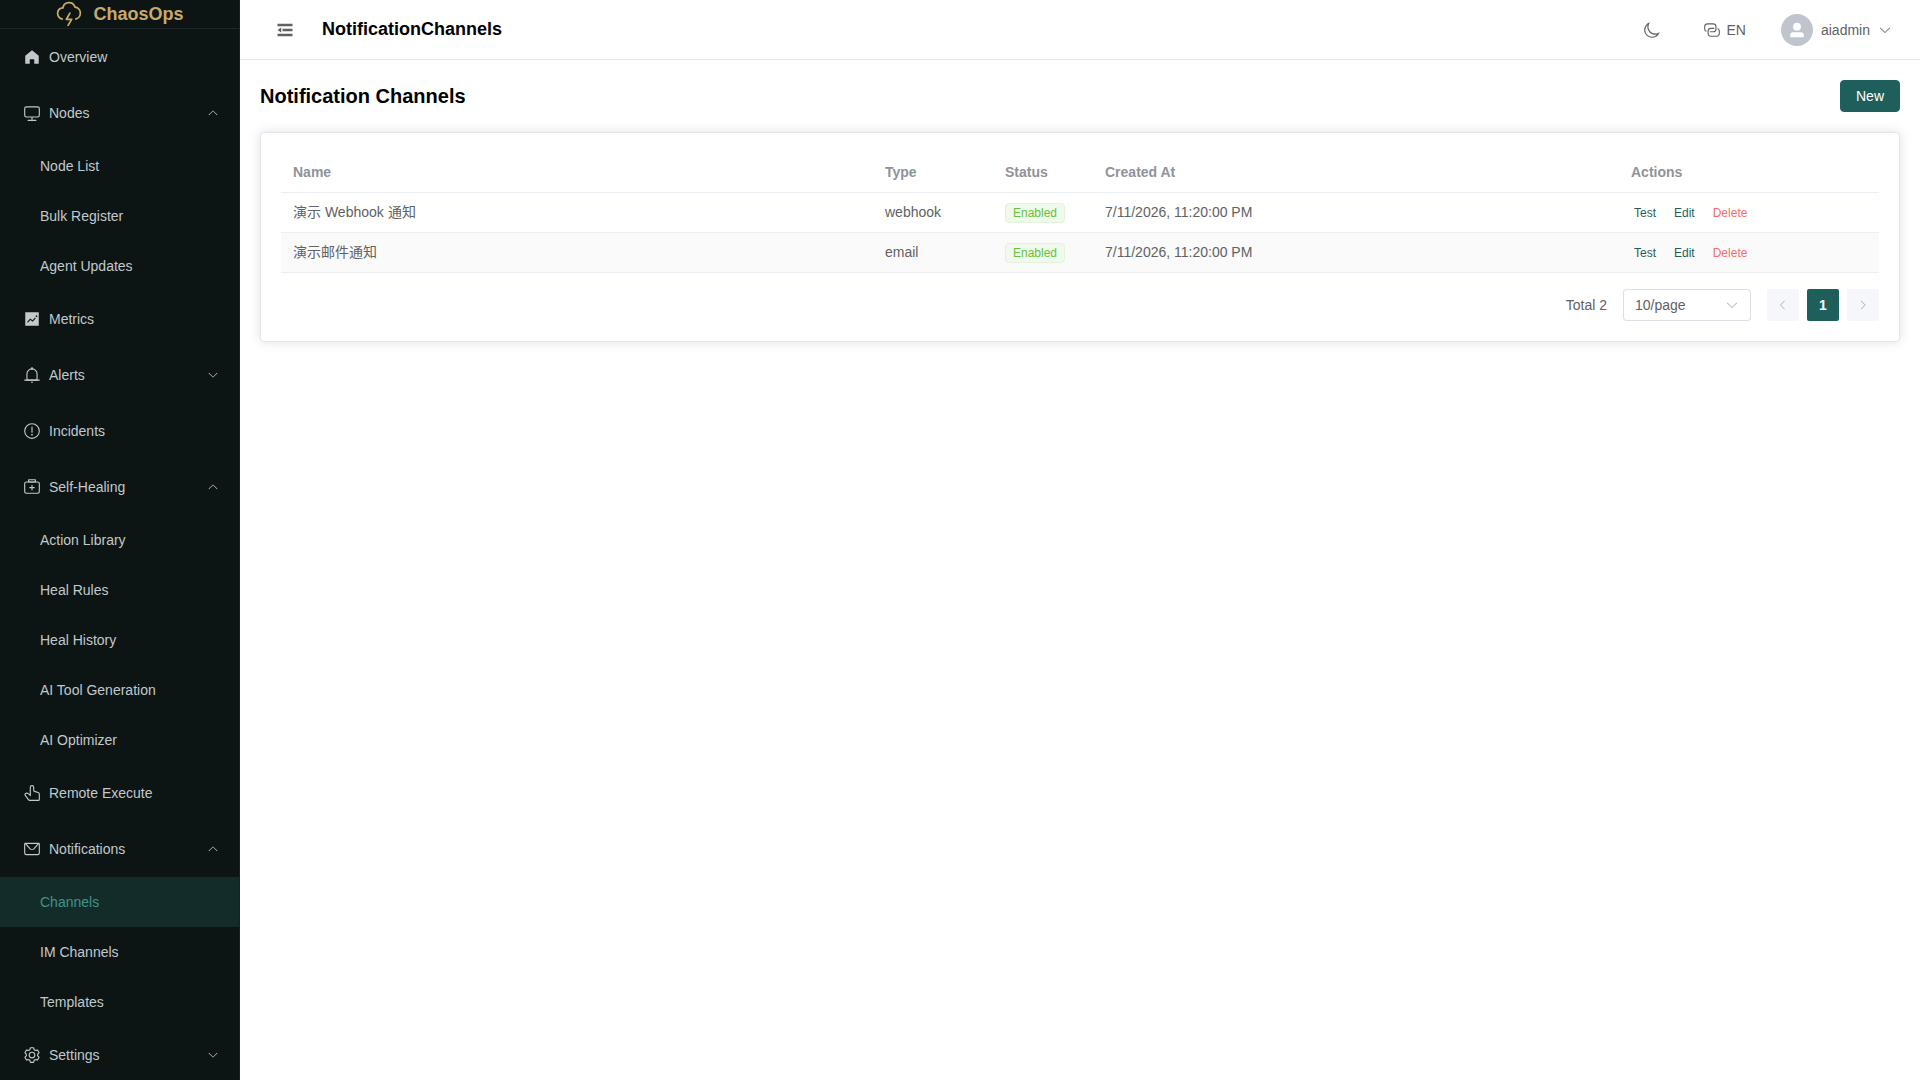
Receive email, DingTalk or WeCom alerts when servers misbehave. Duplicate issues are merged so you won't get spammed overnight.
Incidents from start to finish
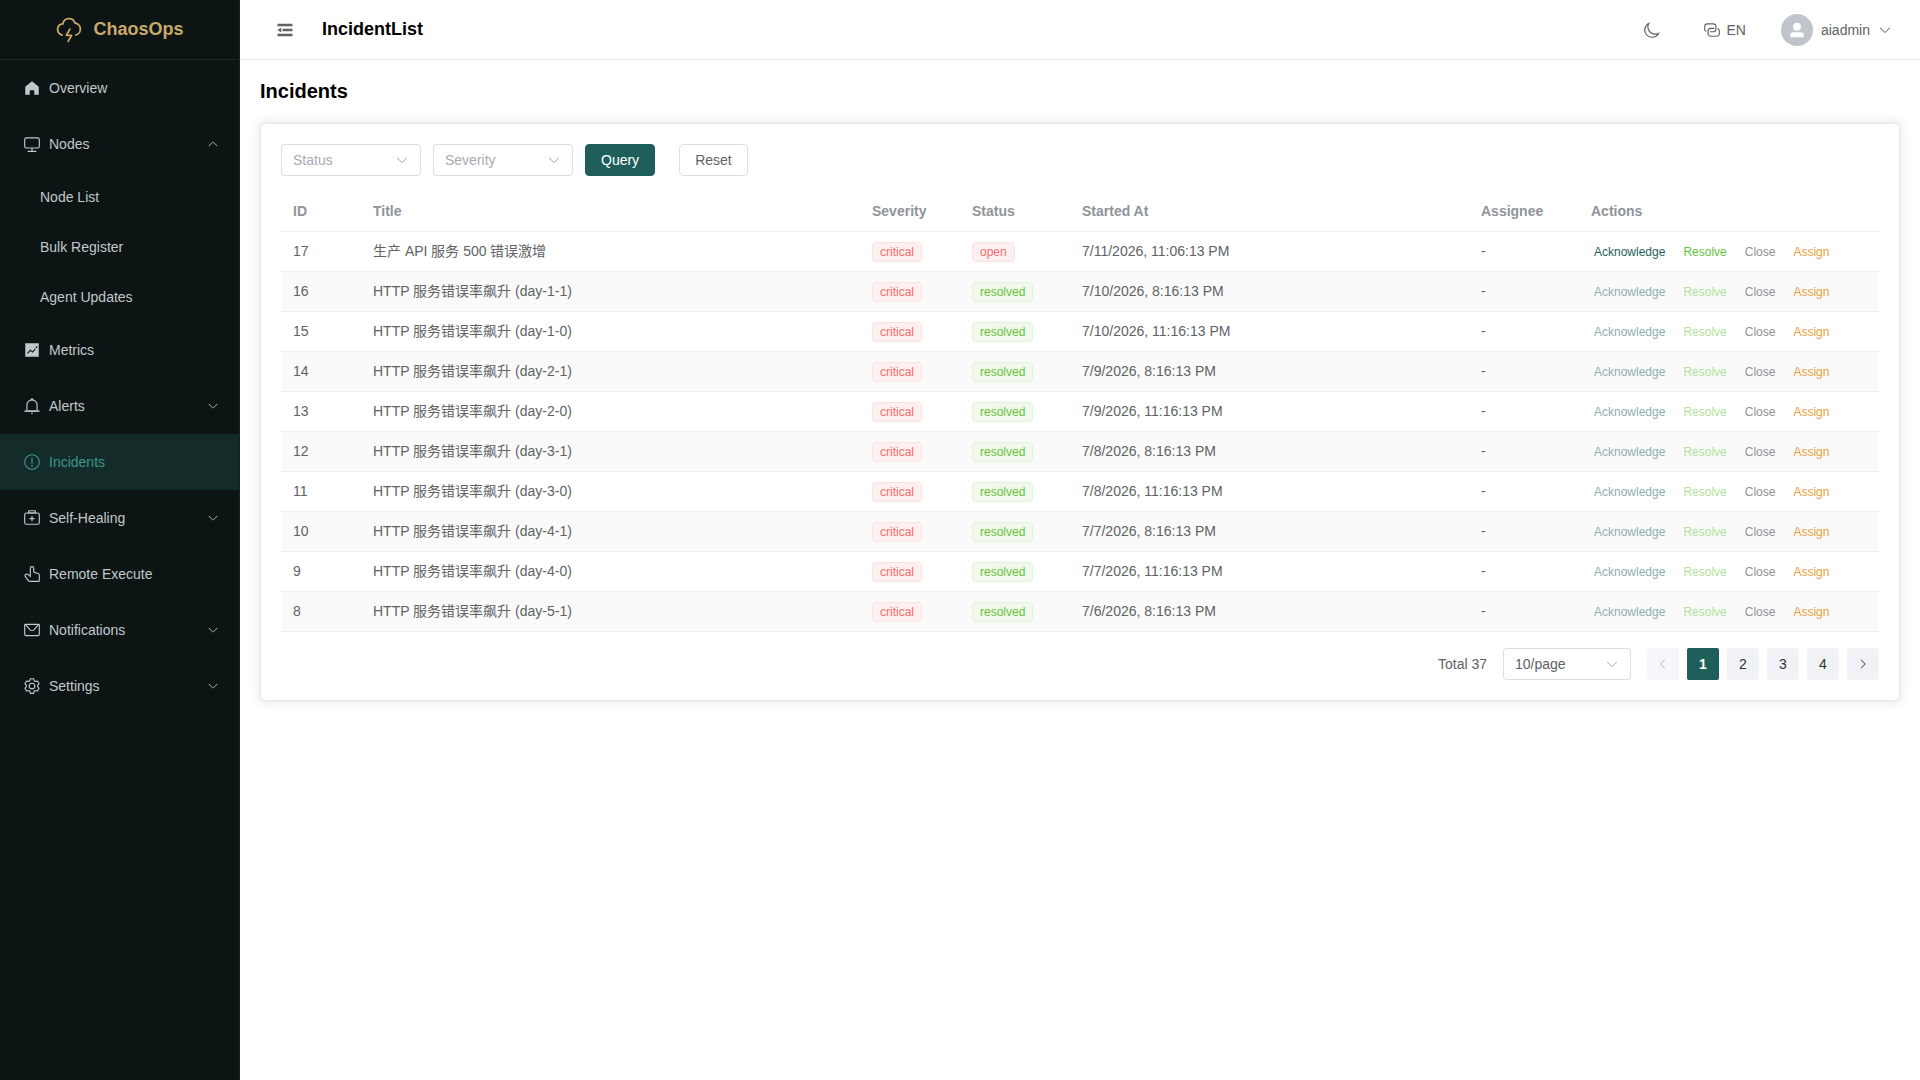
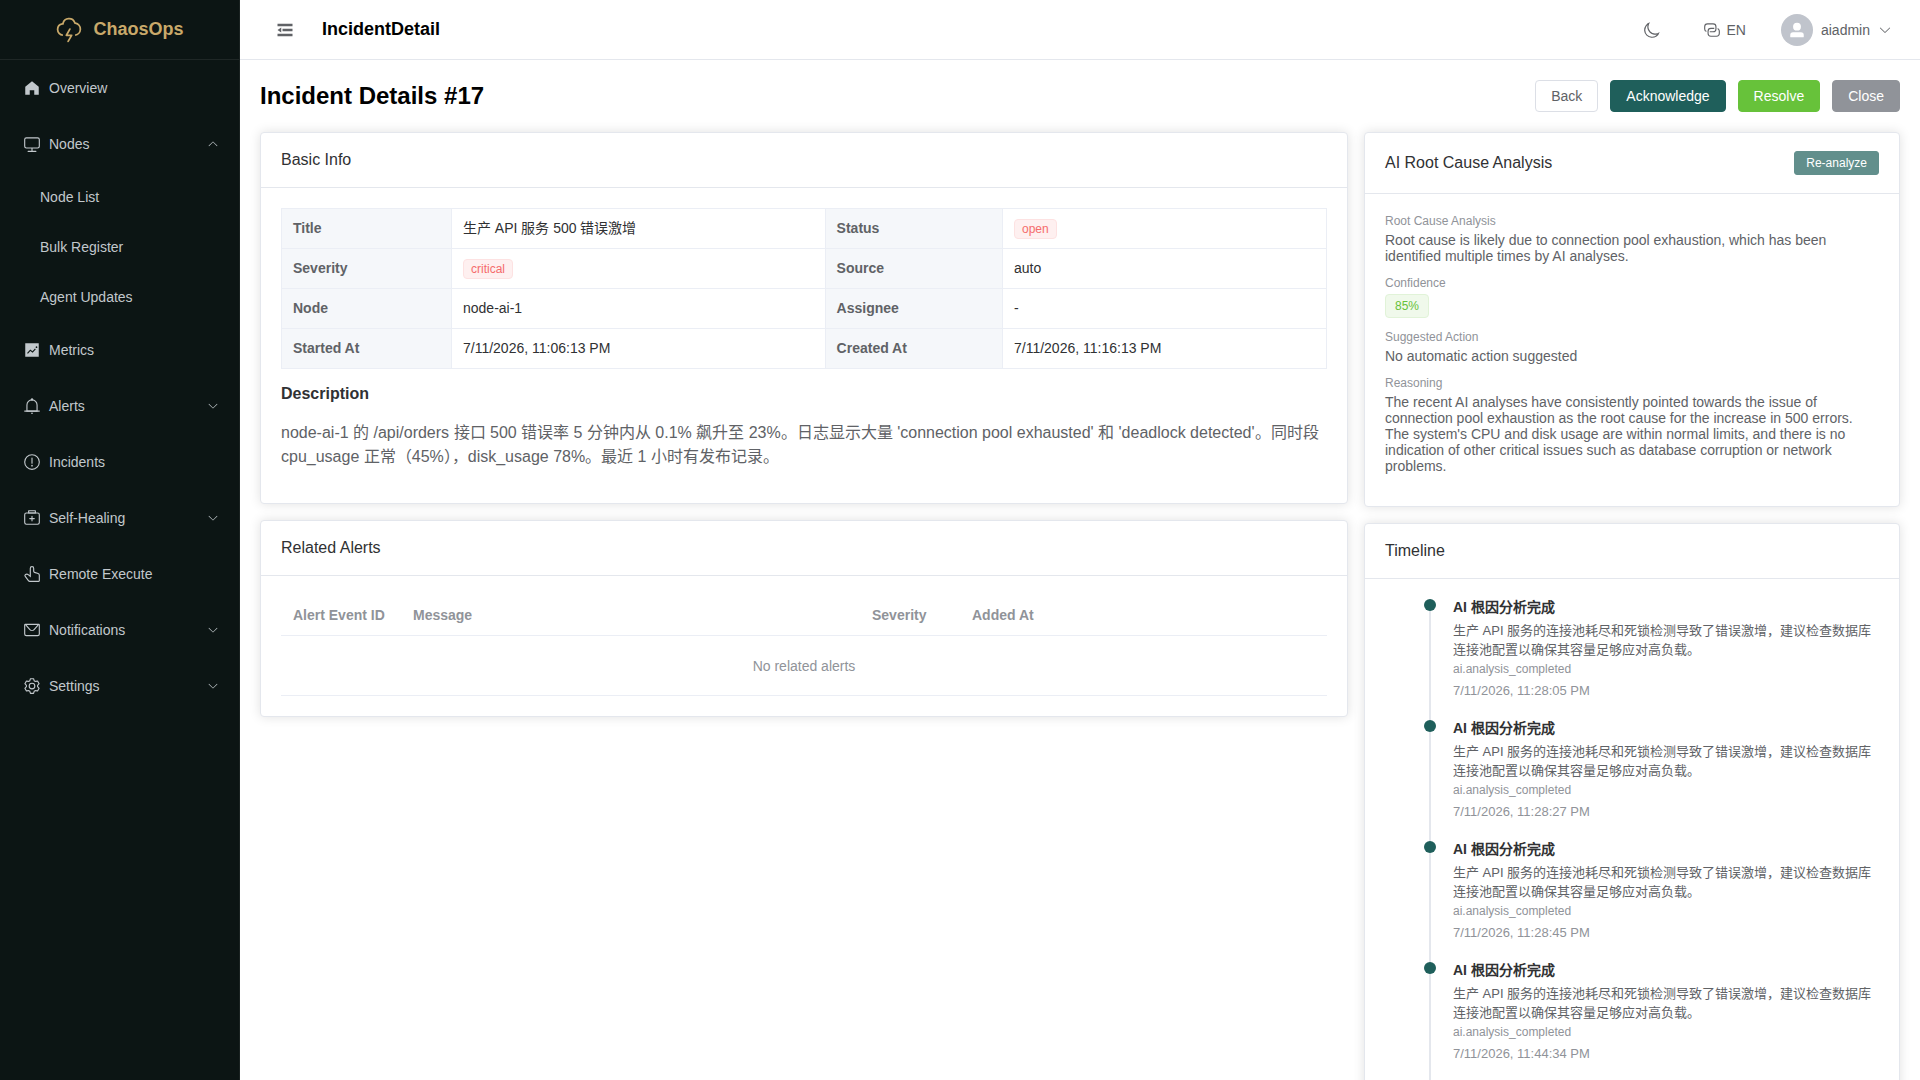
Every alert becomes an incident with a full timeline: when it happened, which nodes were affected, and how it was resolved.
AI finds the root cause
After an incident is created, AI analyzes logs and metrics to tell you the most likely cause and suggests next steps.
Approve, then auto-fix
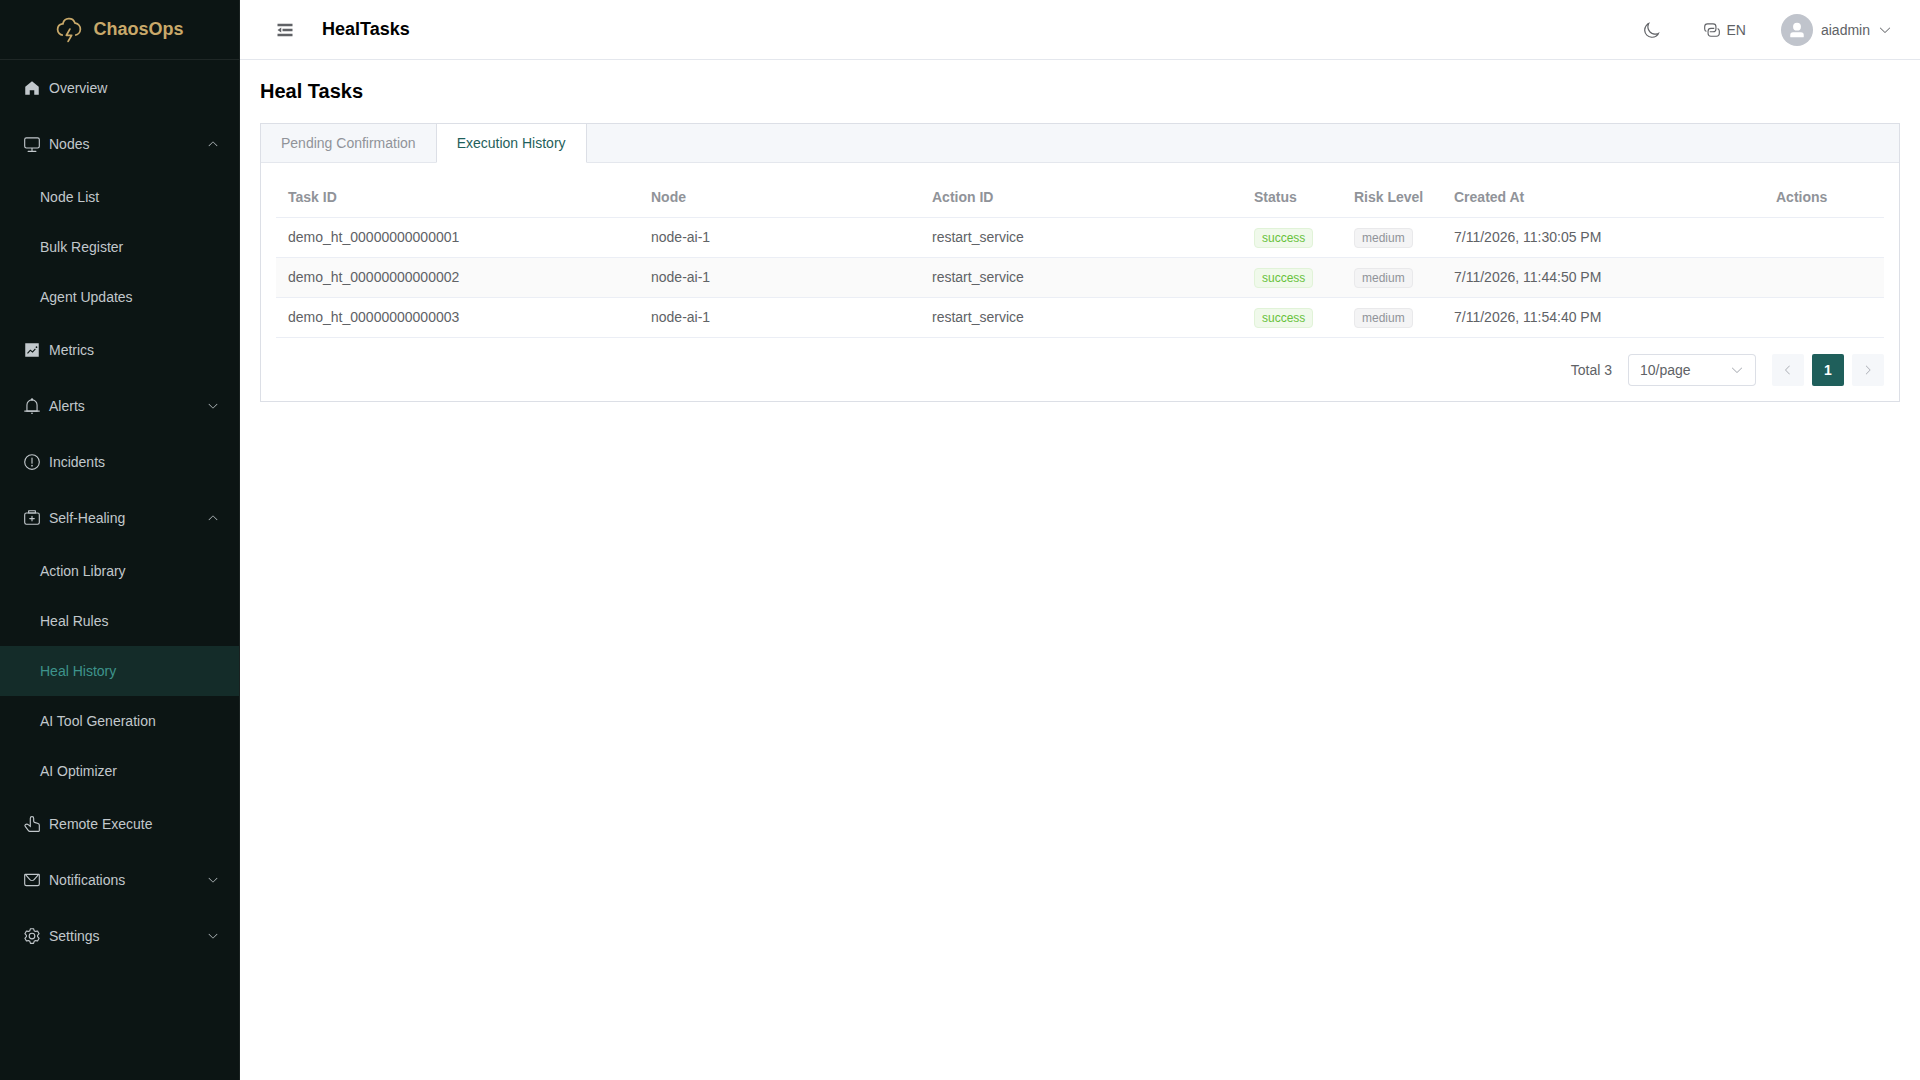
Predefine fix scripts for common issues like full disks or dead services. AI or manual triggers require your approval, and results are verified automatically.
Integrates with your tools
Use the API to connect DingTalk groups, ticketing systems or automation scripts without changing your existing workflow.
Typical Scenarios
Midnight disk alert
Before: woken by a phone call, SSH into the server, run df -h for ages, delete logs manually.
Now: ChaosOps detects 90% disk usage, sends a DingTalk alert, AI identifies uncleaned logs, you confirm the cleanup script, and check the report in the morning.
Weekend service outage
Before: users report the site is down, you find the service crashed, restart it, and spend half an hour finding the cause.
Now: ChaosOps detects the failed HTTP probe, creates an incident automatically, AI identifies a memory leak and suggests a restart. You confirm with one click and it's back in 3 minutes.
Onboarding a new teammate
Before: teaching a new hire to monitor, configure alerts and handle incidents takes at least a week.
Now: give them a Viewer account, let them read the Quick Start and follow the steps. They can handle common alerts independently in half a day.
Specifications
- Supported Systems
- Linux (x86_64 / aarch64)
- Monitored Hosts
- Linux / Windows (via Agent)
- Installation
- Download → Extract → Run installer
- Requirements
- 1 CPU core, 2GB RAM
- Data Security
- All data stays on your own servers
- Free Tier
- Up to 3 servers
- Professional Tier
- Up to 20 servers with AI analysis
- Enterprise Tier
- Unlimited servers, all features
- Licensing
- Buy once, use forever
Technical Metrics
- Test Coverage
- Backend 1245+ / Agent 93 / Frontend 74 / E2E 9
- First Install Time
- ~5 minutes including dependencies
- Resource Usage
- ~50MB RAM / 1% CPU per node
- Upgrade Path
- Offline package overwrite, data migrates automatically
Use Cases
Deployment Guide
Download the package
Choose the archive for your server's CPU architecture (linux-x86_64 for most servers, linux-aarch64 for ARM servers) and save it to your server.
Extract the files
Run tar -xzf chaosops-free-v1.0.0-linux-x86_64.tar.gz to extract it.
Run the installer
Run sudo ./install-server.sh. The installer handles everything automatically.
Save the admin password
After installation, copy the line Default admin: admin / xxxxxxxx — it is shown only once.
Verify the service
Open http://your-server-ip:8000/health in your browser. If you see {status:ok}, the service is running.
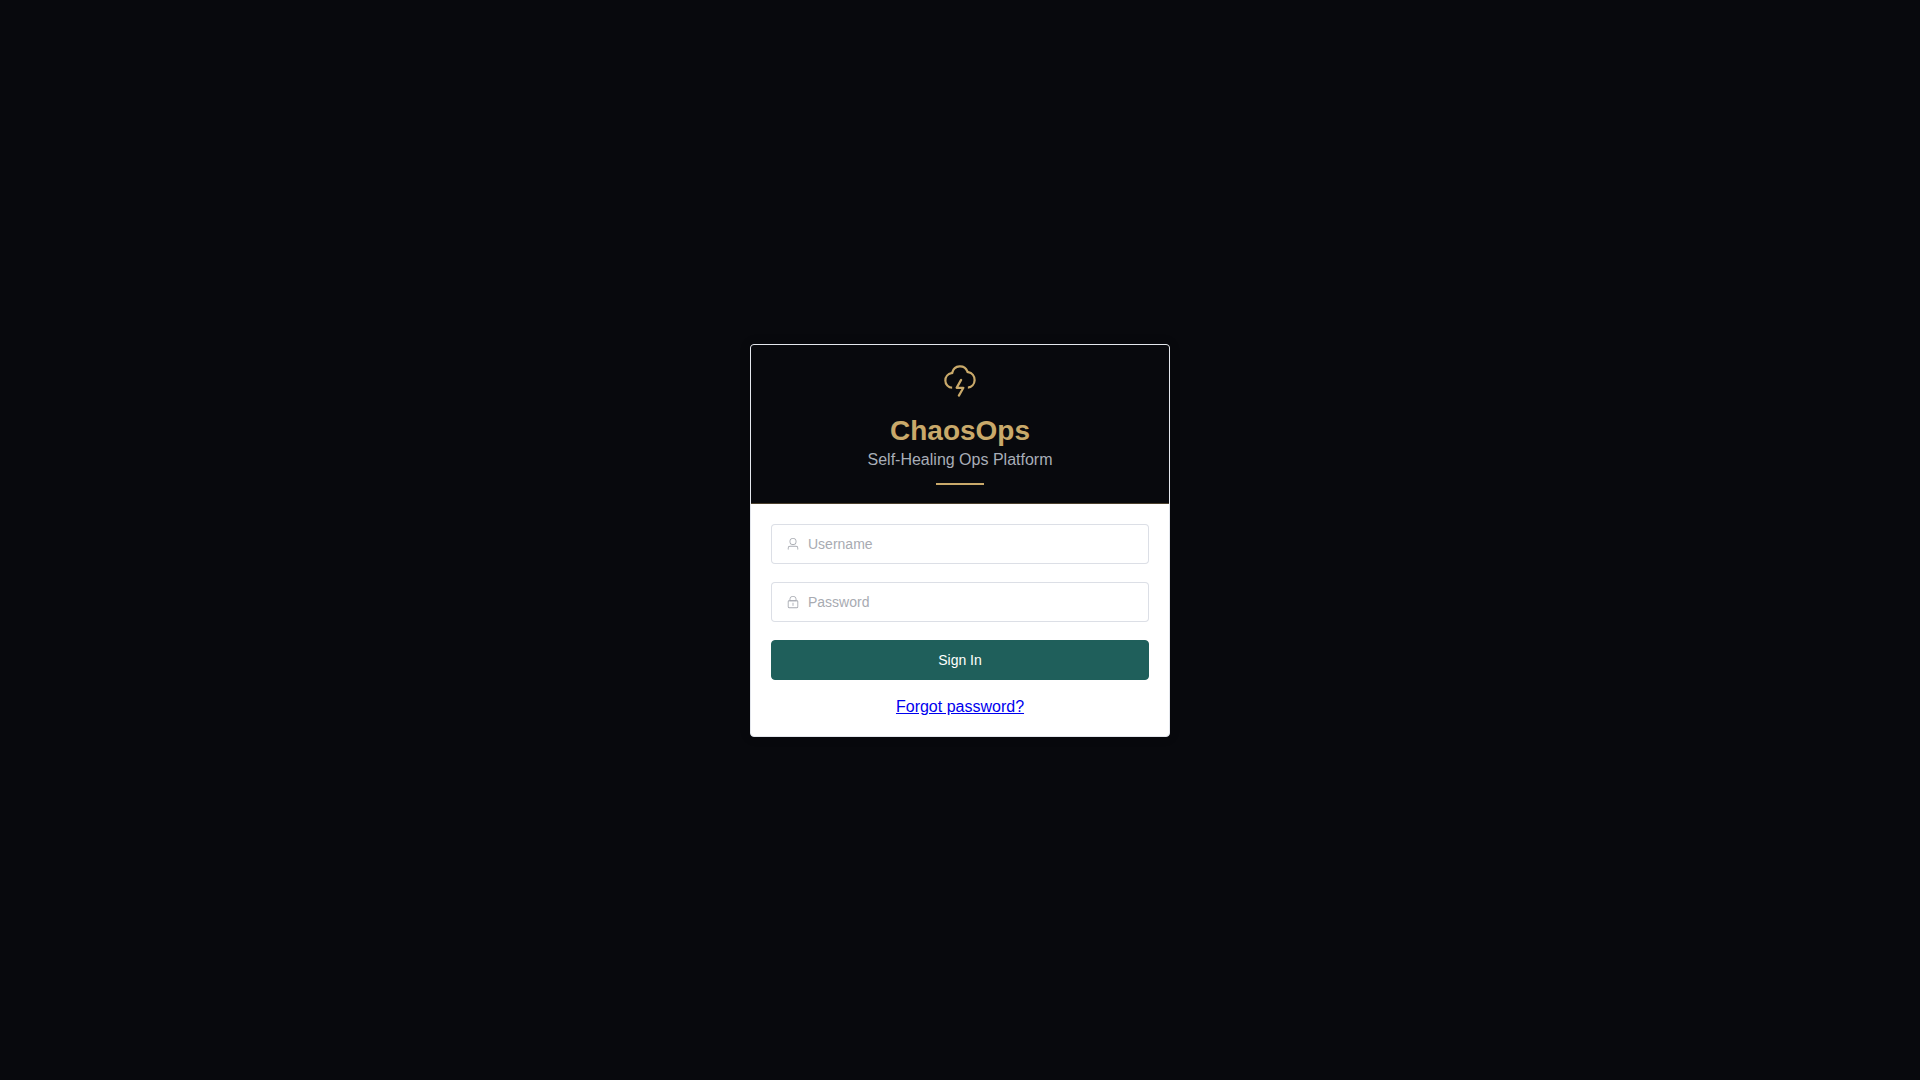
Log in to the console
Open http://your-server-ip:8000, sign in with admin and the password you saved. Change the password on first login.
Docker deployment (optional)
Run docker load -i chaosops-free-docker-v0.1.0.tar.gz && docker run -d -p 8000:8000 -v chaosops-data:/opt/chaosops/data chaosops-free:v0.1.0.
Uninstall
Run sudo ./install-server.sh uninstall. The data directory is kept by default; delete it manually to fully remove ChaosOps.
Activate your license (Professional)
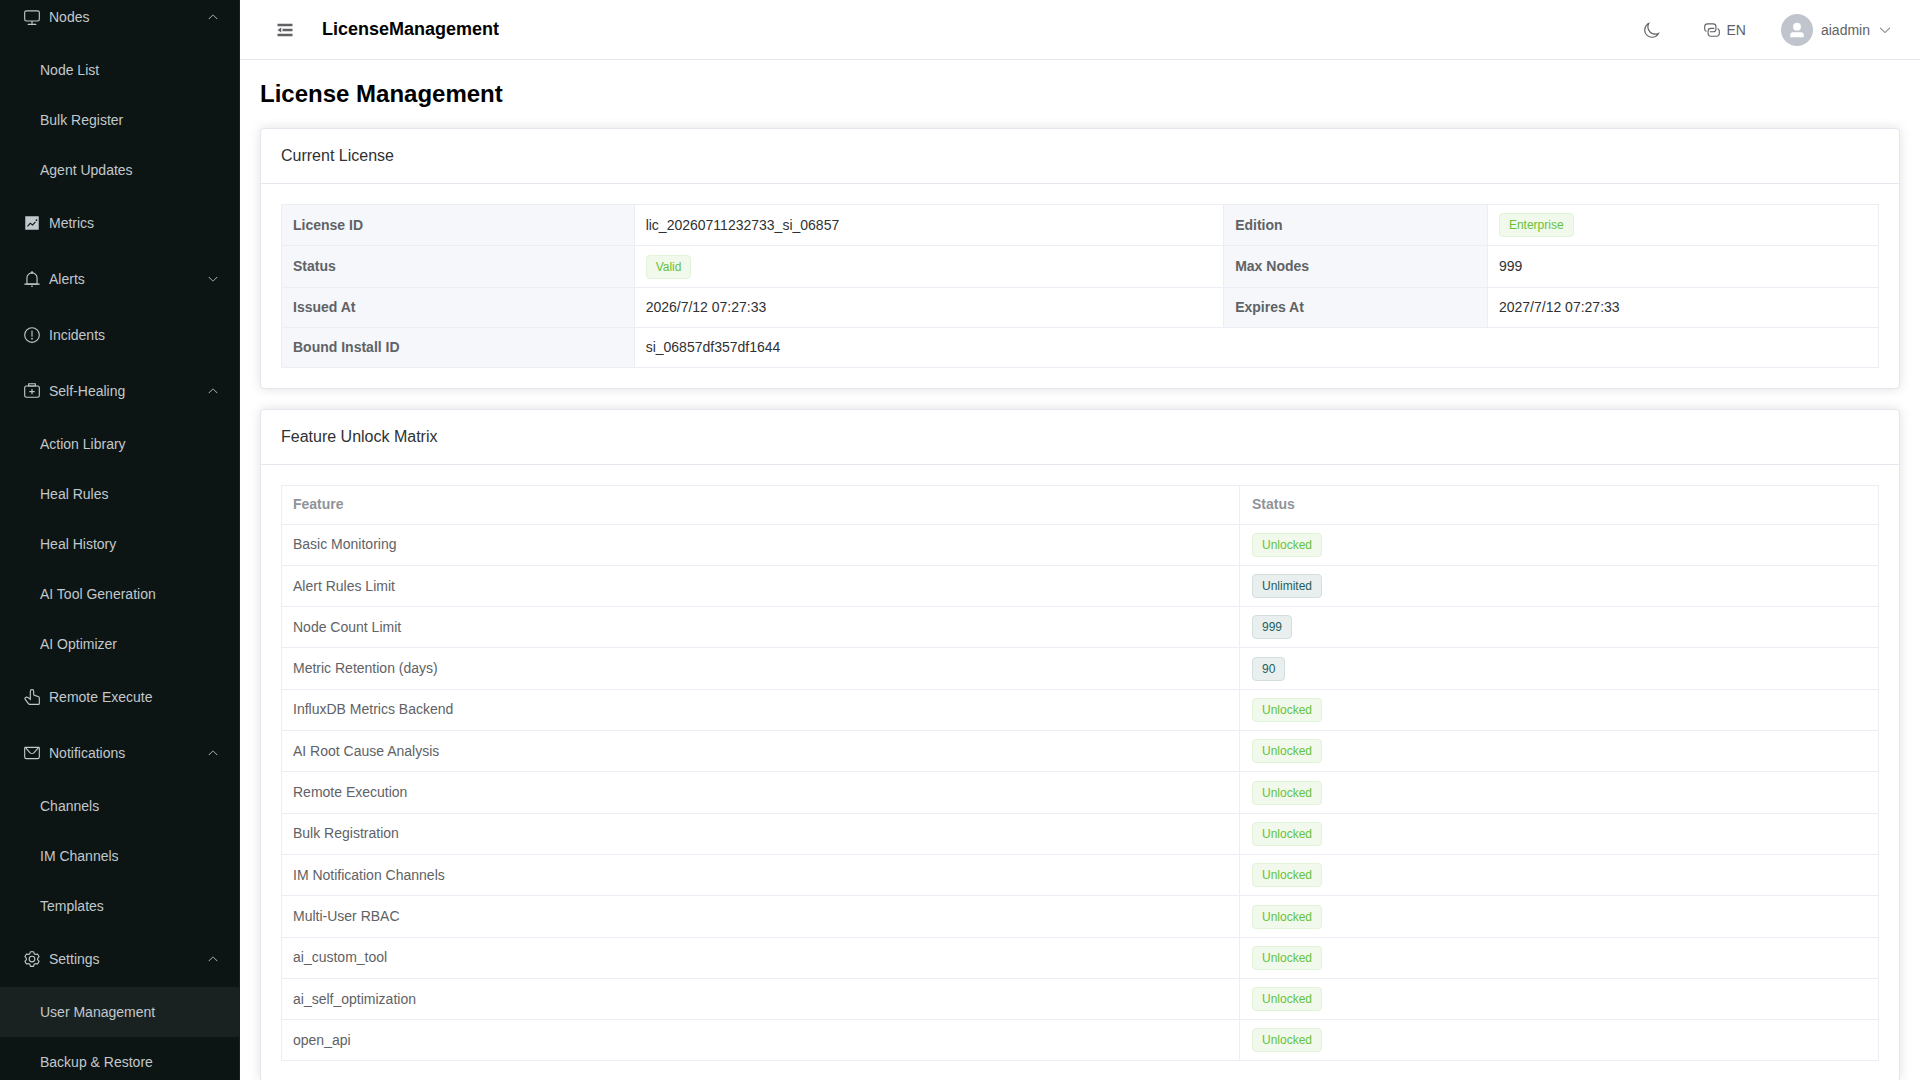
Go to Settings → License, enter the activation code from your purchase email (starts with lic_) and confirm. Activation requires internet access once; afterwards the product works offline permanently. For air-gapped servers, download the license file from the activation page and upload it manually.
Quick Start
Add your first server
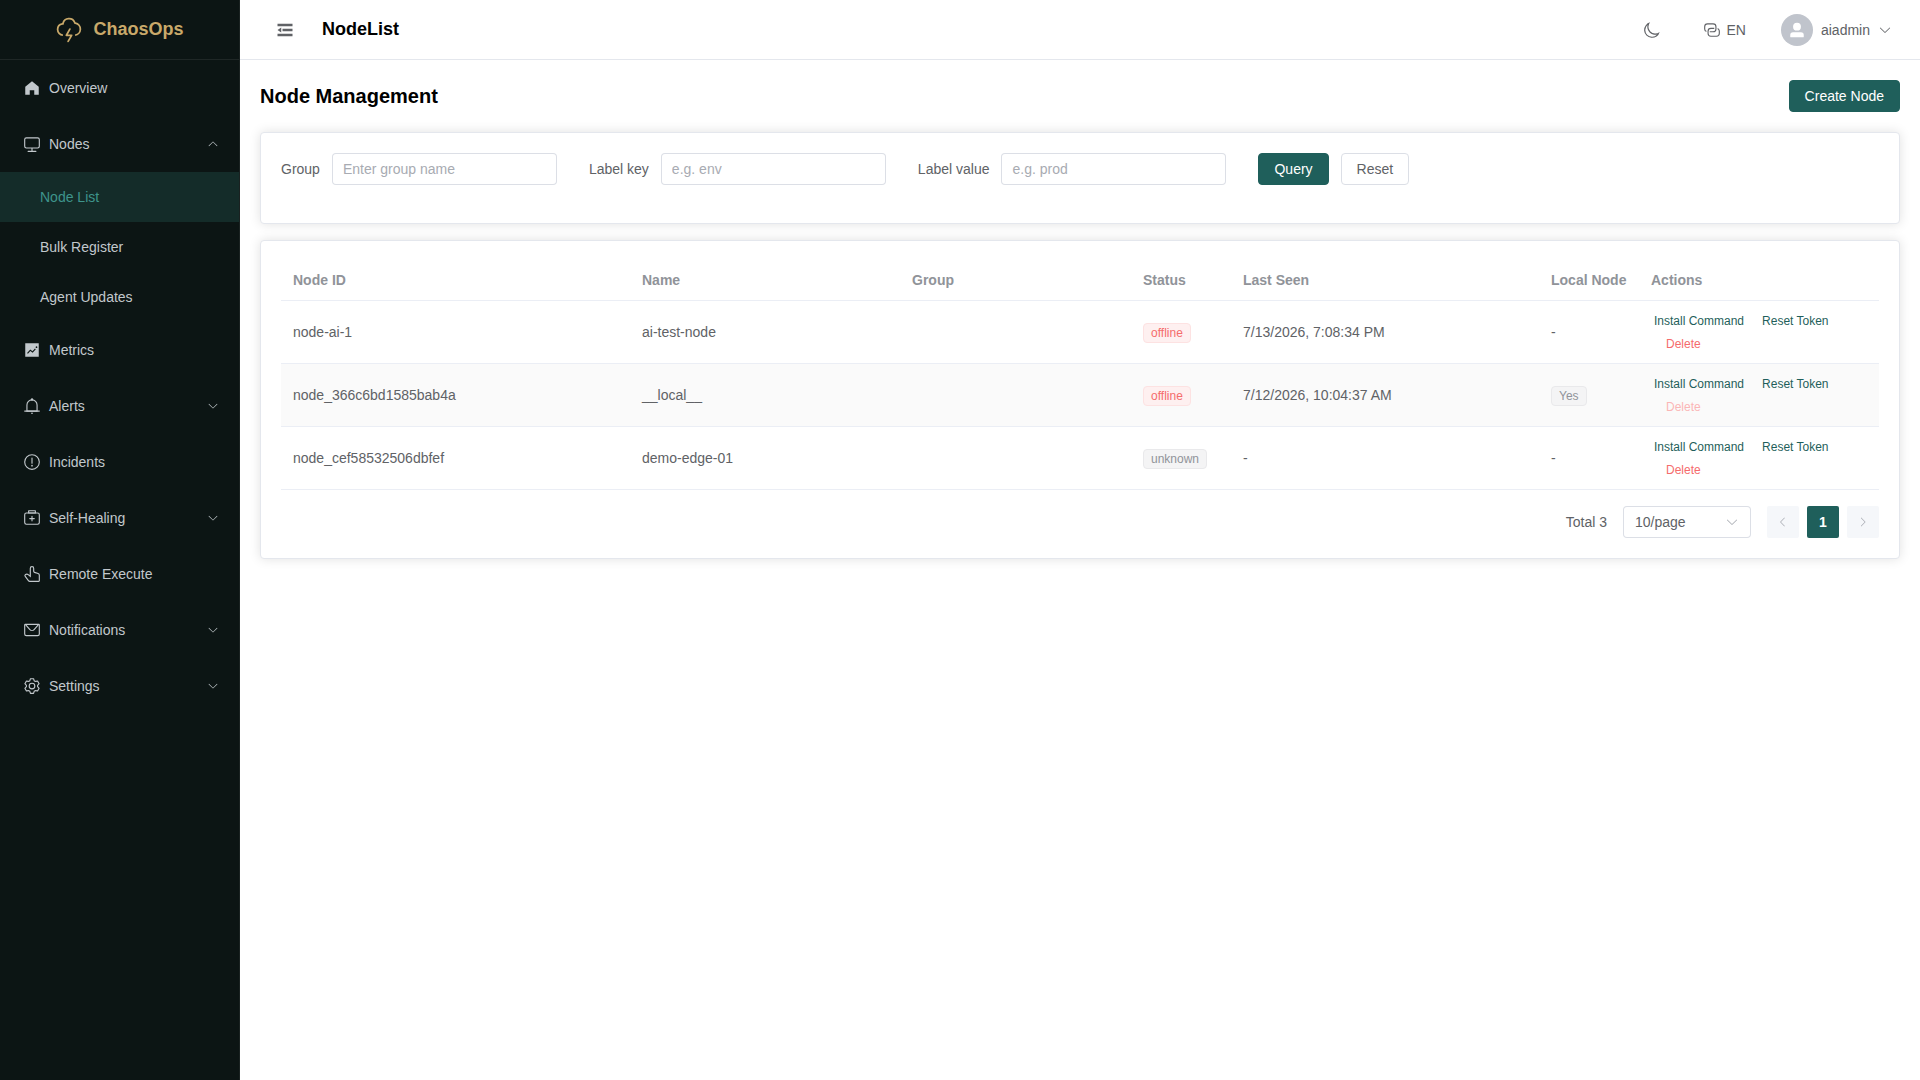
Go to Nodes → Add Node → copy the install command → run it on the target server.
Expected: The target server appears in the node list with status Online.
Tip: If the command fails, check that the target server can reach the ChaosOps server on port 8000.
Check server status
Open the Dashboard to see node cards, alert stats and recent events.
Expected: Green = healthy, red = critical, yellow = warning but not yet handled.
Tip: Click a node card to view detailed metric curves.
Create an alert rule
Go to Alert Rules → New Rule → pick a metric and threshold → save.
Expected: The rule takes effect immediately and triggers alerts when the metric is abnormal.
Tip: Start with a test rule (e.g. CPU > 1%) to confirm notifications work before adjusting thresholds.
Handle an incident
Open Incidents → click an incident → review the timeline and related nodes → mark as resolved.
Expected: The incident status changes to Resolved and the timeline is preserved.
Tip: Check the AI root-cause analysis before marking as resolved to understand what happened.
Use AI analysis
Open an incident → check the AI root-cause panel → review confidence and suggestions → approve or reject.
Expected: AI provides a root-cause guess, confidence score and suggested actions.
Tip: AI suggestions are for reference only. Manual review is recommended when confidence is below 70%.
Run self-healing
Go to Heal Tasks → pick a pending task → click Confirm → view the result.
Expected: The task status changes to Success and the linked incident is auto-resolved.
Tip: Preview the script before confirming to ensure it is safe to run.
Set up notifications
Open Notification Channels → choose DingTalk, WeCom or email → enter the webhook or address → send a test.
Expected: A test message is successfully delivered to the channel.
Tip: DingTalk and WeCom webhooks are obtained by adding a bot in the group. See the Beginner Guide for details.
Invite your team
Go to Users → Add User → set a role (admin or viewer) → save.
Expected: The new user can log in with the account and password.
Tip: Give non-technical members the Viewer role so they can only read, not operate.
FAQ & Troubleshooting
The installer says "Python 3.10 not found"?
The offline package includes Python, so you don't need to install it yourself. If you see this message, the archive may be incomplete — please download the full package for your OS again.
Logs: Check the last 10 lines of the installer's terminal output.
Get help: Send a screenshot of the error to contact@chaosm.io, including your OS and architecture.
The installer says "permission denied"?
Prepend sudo to the command and enter your user password.
Logs: Check the exact error line in the terminal.
Get help: Provide the error screenshot and your OS version.
The web console won't open after installation?
Check the service first: run systemctl status chaosops-server. Then make sure port 8000 is not blocked by the firewall.
Logs: Run journalctl -u chaosops-server -n 50 to view recent logs.
Get help: Send the last 20 lines of logs to contact@chaosm.io.
I forgot the admin password?
Open data/.env in the install directory and search for ADMIN_PASSWORD — the value after it is your password.
Logs: If the .env file does not exist, the installation was not completed. Please rerun the installer.
Get help: Provide a screenshot of the install directory listing.
Features didn't unlock after uploading a license?
Make sure you installed the matching offline package: a free package cannot unlock Professional features, and a Professional package cannot unlock Enterprise features. Reinstall with the correct package — your data is safe.
Logs: Check the license-related logs in data/logs/.
Get help: Provide screenshots of the license file and the package name.
The service won't start after an upgrade?
The upgrader backs up data and rolls back automatically on failure. Check the logs/ directory and send the last error lines to contact@chaosm.io.
Logs: On Linux run journalctl -u chaosops-server -n 100 for detailed logs.
Get help: Send the logs and the upgrade package name to contact@chaosm.io.
I'm not receiving alert notifications?
Check that the notification channel is configured correctly, test sending works, and the alert rule is enabled.
Logs: Check the notifier logs in data/logs/.
Get help: Provide screenshots of the alert rule and the notification channel settings.
AI analysis is stuck at "Analyzing"?
Check that the AI model is configured correctly, the API key is valid, and the network can reach the AI service.
Logs: Check the AI-related logs in data/logs/.
Get help: Provide screenshots of the AI configuration and the error logs.
Screenshots
Demo Video
Beginner Configuration Guide
What is a server IP and how to find it
The server IP is its network address. On Linux run ip addr or ifconfig; on Windows run ipconfig. Use this IP in http://your-server-ip:8000 when deploying ChaosOps.
What is a port and how to open it
A port is an entry point for services. ChaosOps uses port 8000 by default. If the page won't open, allow port 8000 in the firewall: sudo ufw allow 8000 or sudo firewall-cmd --add-port=8000/tcp on Linux; also check your cloud security group.
What is sudo and why use it
sudo means "run as administrator" on Linux. It is needed for installing software or changing system settings. Prepend sudo to the command and enter your password. On Windows, right-click and choose "Run as administrator" instead.
What is a Webhook and where to get it
A webhook is a URL that ChaosOps uses to send alerts to your DingTalk or WeCom group. Get it by: opening the group → Group Settings → Assistant → Add Bot → Custom → copy the Webhook URL.
DingTalk notification setup
Open your DingTalk group → Group Settings → Assistant → Add Bot → Custom → copy the Webhook URL → paste it into ChaosOps Notification Channels → DingTalk → save and test. Set a keyword for the bot (e.g. "alert").
WeCom notification setup
Open your WeCom group → top-right ... → Add Group Bot → copy the Webhook URL → paste it into ChaosOps Notification Channels → WeCom → save and test.
Email notification setup
Go to Notification Channels → Email → fill in the SMTP server (e.g. smtp.exmail.qq.com), port (465 or 587), account and password/auth code → save and test. For QQ or NetEase mail, enable SMTP in settings and get an auth code.
AI model setup
Go to Settings → AI Analysis → choose a model type (OpenAI / local model) → enter the API key or local endpoint → save. If you don't have an AI service, you can disable AI analysis; basic monitoring still works.
Database setup
ChaosOps uses built-in SQLite by default. To switch to PostgreSQL, edit data/.env in the install directory and set DATABASE_URL to postgresql://user:pass@host:5432/chaosops, then restart the service.
Backup and restore
Go to Settings → Backup Management → click Create Backup to save all config and data. To restore, upload the backup file. We recommend weekly backups; files are stored in data/backups/.
Pricing
Free
Free
Download- Monitor up to 3 servers
- Basic status overview
- Email alerts
- Incident records
- Community support
Professional
$1,399
- Monitor up to 20 servers
- All Free features
- AI root-cause analysis
- Slack / DingTalk / WeCom / Lark alerts
- Remote batch execution
- Email support
- Perpetual license with 90-day free updates & support
Enterprise
Custom
Contact Us- Unlimited servers
- All Professional features
- AI-generated fix scripts
- Open API access
- Custom automation rules
- Priority support (48h response)
Enterprise edition supports custom requirements and private delivery; contact sales for details.
Product Terms
AI Features
AI-generated root-cause analyses and fix suggestions are provided for reference only, without any warranty of outcomes. Review before executing.
AI may produce incorrect, incomplete, or inapplicable suggestions. Evaluate the risks before acting on any AI suggestion.
AI auto-execution (self-healing) requires admin confirmation by default; enabling whitelist auto-execution means you accept all resulting consequences.
Analysis quality depends on the model and service you configure (local or third-party). We are not responsible for third-party model availability or output quality.
Custom Scripts & Remote Execution
Heal actions, remote batch execution and custom scripts are configured and triggered by your administrators. You are solely responsible for their content, privileges and consequences.
Follow least-privilege and review scripts before use. We are not liable for losses caused by script errors, excessive privileges, or misoperation.
Delivery & Activation
Paid editions are delivered after payment: provide your server install_id (visible in Settings → License) to support, and we will email the bound License file within 24 hours on business days.
Each License binds to one server by default. Contact us by email for multi-deployment needs.
Upload the License file in Settings → License to activate.